Fretboard panels overview
Frettly is designed as a macOS document-based application. Rather than showing a single fretboard that resets the next time the app is opened, Frettly lets you collect many fretboards within each document.
- Remember: all fretboards within the same document use that document’s current instrument, tuning, and handedness.
- New fretboards are added to the bottom of the document. You can reorder them by dragging and dropping a fretboard before or after another, or by using the document’s “Arrange panels” dialog.
- Zoom fretboards within a document using the standard macOS ⌘+ and ⌘- shortcuts.
- If a fretboard extends off-screen horizontally, scroll it left and right with your trackpad or mouse to bring hidden sections into view.
- Clicking anywhere within a fretboard makes it the currently focused fretboard for navigation. The Up and Down arrow keys move focus while bringing the newly focused panel into view.
-
Fretboard configuration
To edit the type, root, or pattern of a fretboard, click the configuration icon to the right of the panel title to open its edit dialog.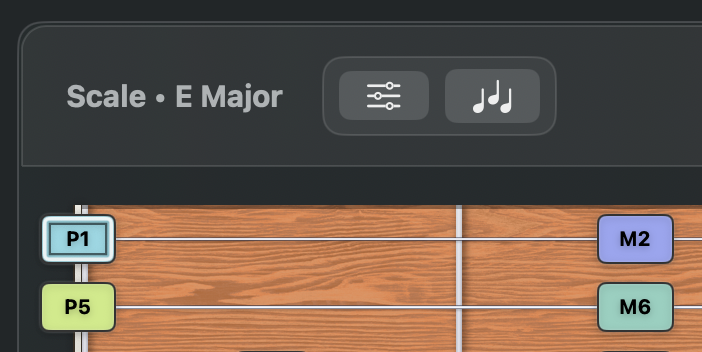
Fretboard controls (top left) -
Scale chords derivation
For fretboards with a content type of Scale supporting diatonic chord derivation, the button to the right of the configuration icon opens a dialog showing the diatonic chords in that key.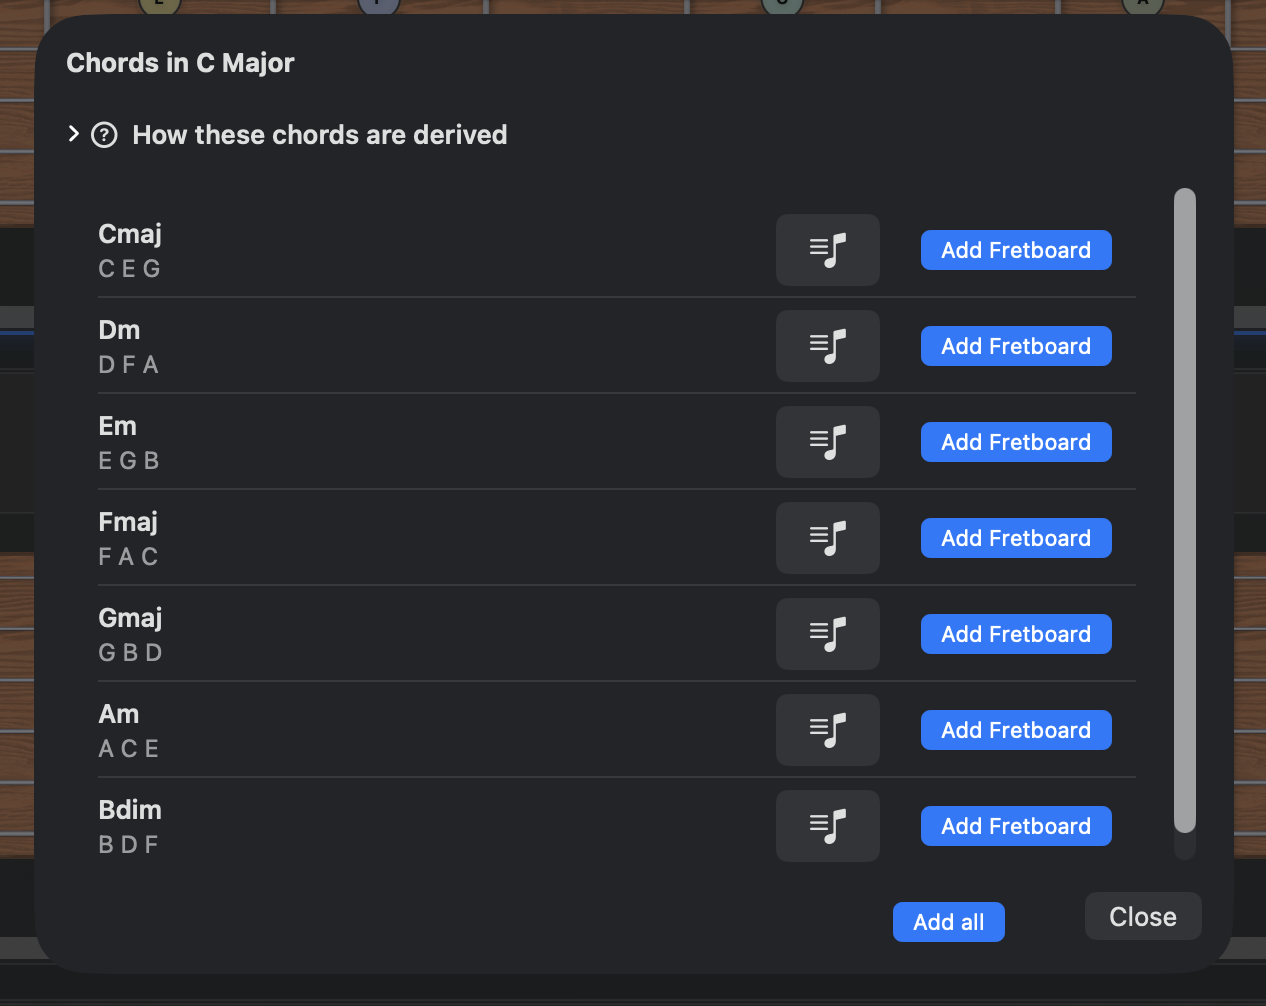
Diatonic chords dialog For each diatonic chord, the triad notes are shown. Each chord can be previewed (using “Pattern play”), added individually to the document, or added as part of a single “Add all” action. If "Add all" is used, subsequent use of Undo (⌘Z) in the document window will undo the addition of all seven chord fretboards.
This dialog has a help feature which when selected slides out a side panel explaining how each chord in the list has been derived from the source scale, their parent key.
-
Fretboard note/interval chips
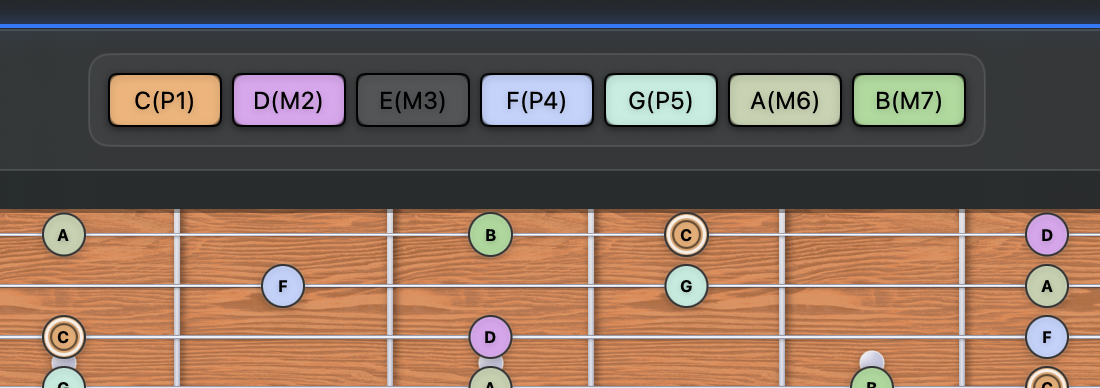
The notes in each fretboard’s scale, mode, or chord are shown as chips at the top of the panel: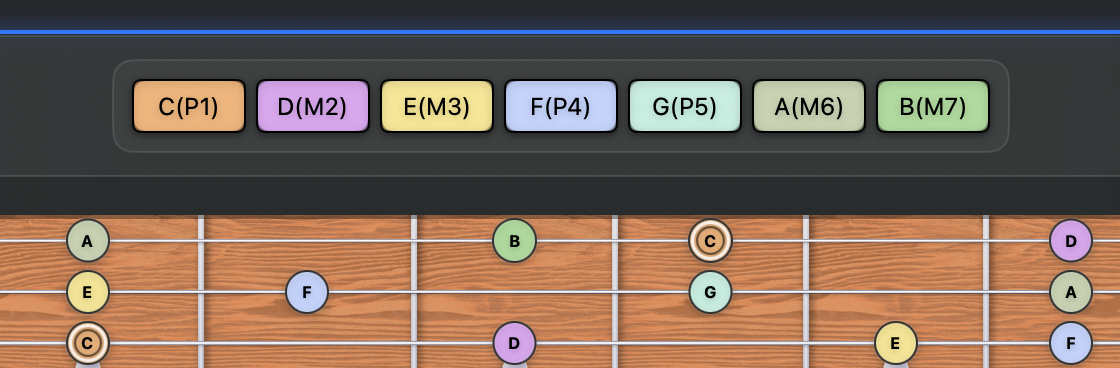
Fretboard note and interval chips Each chip shows a note and its interval within the pattern, using the following notations:
- P1 — Perfect unison (root)
- m2 — Minor second
- M2 — Major second
- m3 — Minor third
- M3 — Major third
- P4 — Perfect fourth
- d5 — Diminished fifth
- A4 — Augmented fourth
- P5 — Perfect fifth
- A5 — Augmented fifth
- m6 — Minor sixth
- M6 — Major sixth
- d7 — Diminished seventh
- m7 — Minor seventh
- M7 — Major seventh
- P8 — Perfect octave
- m9 — Minor ninth
- M9 — Major ninth
- m10 — Minor tenth
- M10 — Major tenth
- P11 — Perfect eleventh
- A11 — Augmented eleventh
- P12 — Perfect twelfth
- m13 — Minor thirteenth
- M13 — Major thirteenth
Hovering over a chip highlights that note or interval across the fretboard:
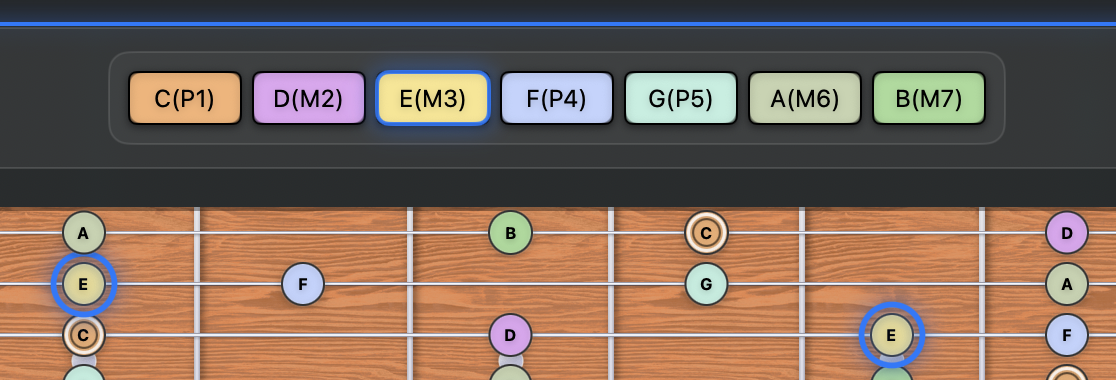
Example of chip highlighting notes Clicking a chip toggles that note or interval between visible and hidden across the fretboard:
Example of hidden notes Note: hidden notes are not played when using “Pattern play”.
-
Fretboard controls - marking
To the right of the chips is a bank of additional fretboard controls. The first group of three buttons relates to marking notes.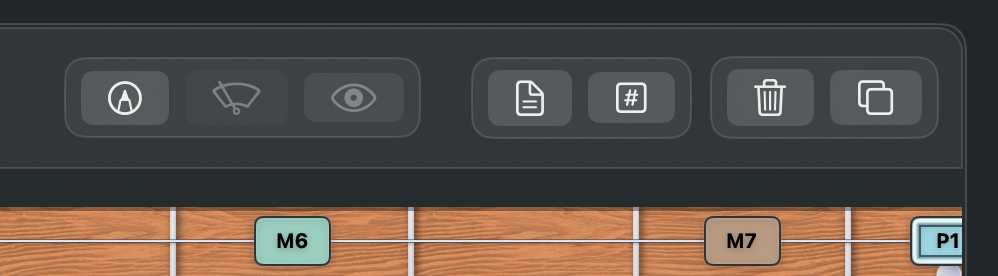
Fretboard controls (top right) You can mark individual notes on a fretboard. Marked notes are highlighted with a dashed circle.
To enable marking, click the first button (the marker pen). When marking is on, the button turns yellow. Click any note to toggle its mark. The marker button also shows how many notes are marked on that fretboard (including notes that may be off-screen).
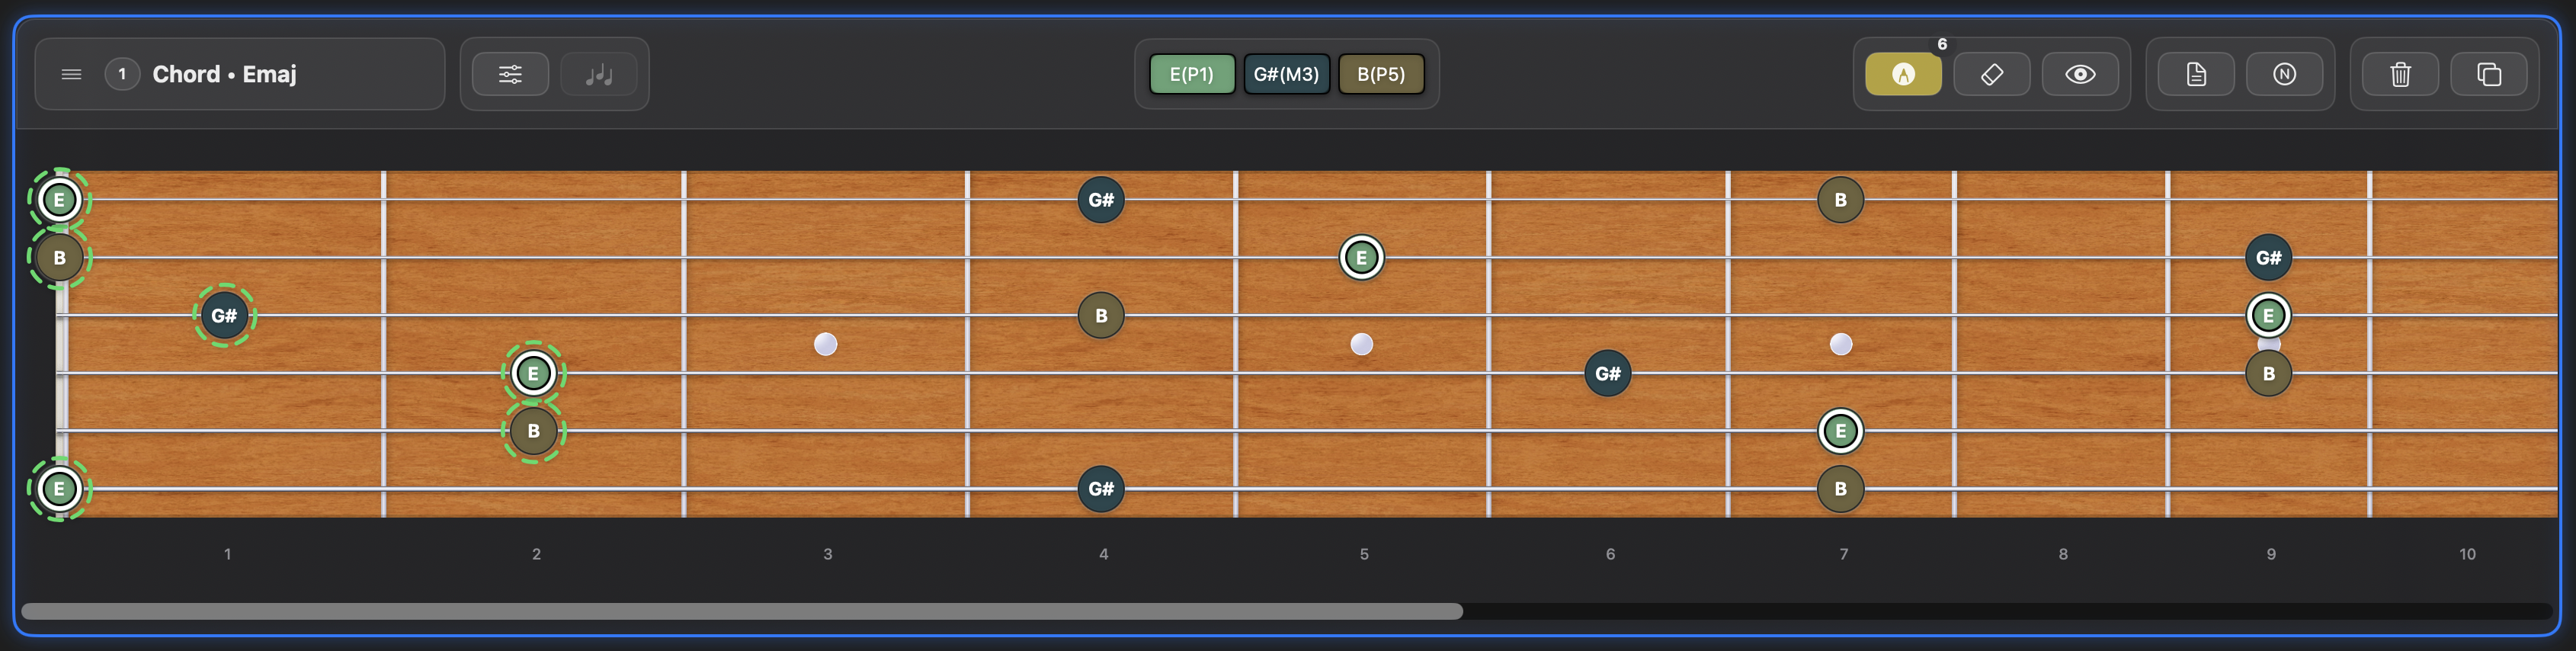
Fretboard in marking mode While marking is enabled, clicking notes only marks/unmarks them — the usual play interactions are paused until you turn marking off. Click the marker pen again to return to normal fretboard mode. Your chosen document play mode then applies as usual, and any marked notes remain visible alongside unmarked notes.
The other buttons in the marking group remain disabled until at least one note is marked. The second button erases all marks within that fretboard. The erasure can be undone with Undo (⌘Z).
The third button is “View marked notes”. It is also disabled until there are marked notes. You may prefer to rely on the dashed outline alone to spot marked notes, or you can use “View marked notes” to hide unmarked notes. When “View marked notes” is enabled it will be coloured yellow.
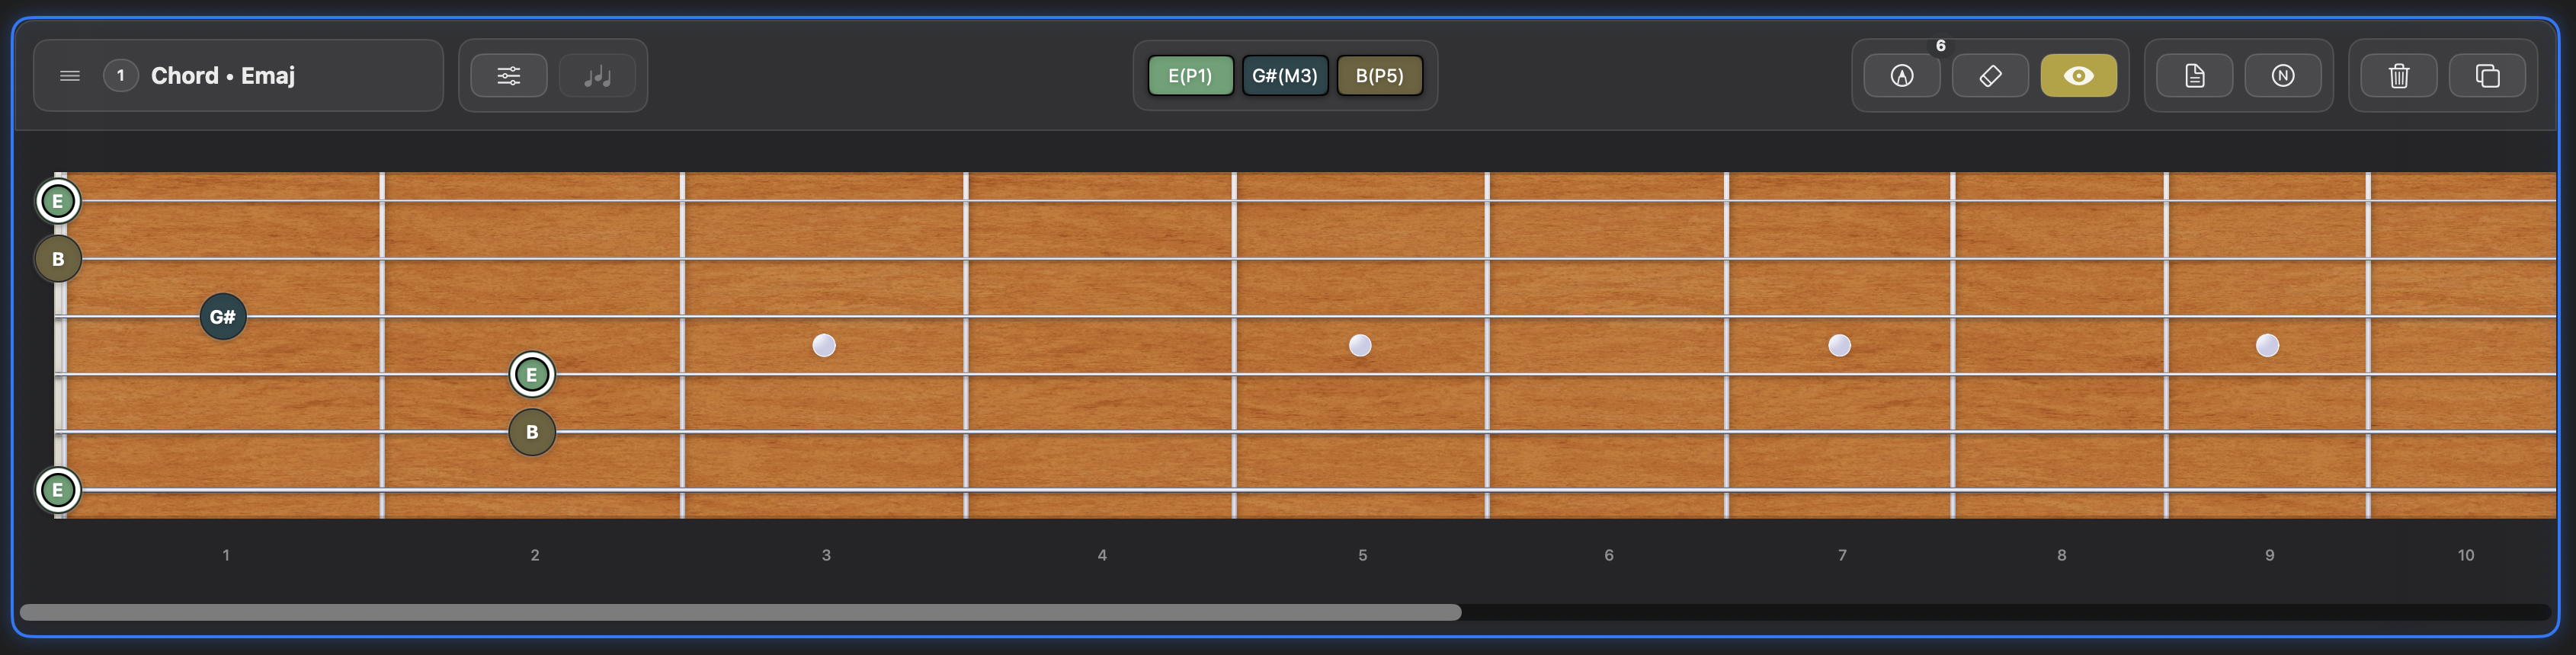
Fretboard showing only marked notes Pattern play while viewing marked notes only
When View marked notes is active on a fretboard showing a chord pattern (rather than a scale), Pattern Play behaves differently. The sequence begins with the highest pitched marked note on the string you click, then moves to the next higher string, choosing the marked note furthest from the nut on each string. If a string has no marked notes, it’s skipped. Once the highest string has been played, all notes selected so far are strummed together. In effect, Frettly previews the chord voicing defined by your marked notes.
When might you want to use marked notes and view marked notes only? Perhaps when you want to focus on a specific chord fingering, or to break down a scale into playable positions along the fretboard, as is commonly done for such as the Pentatonic scales:
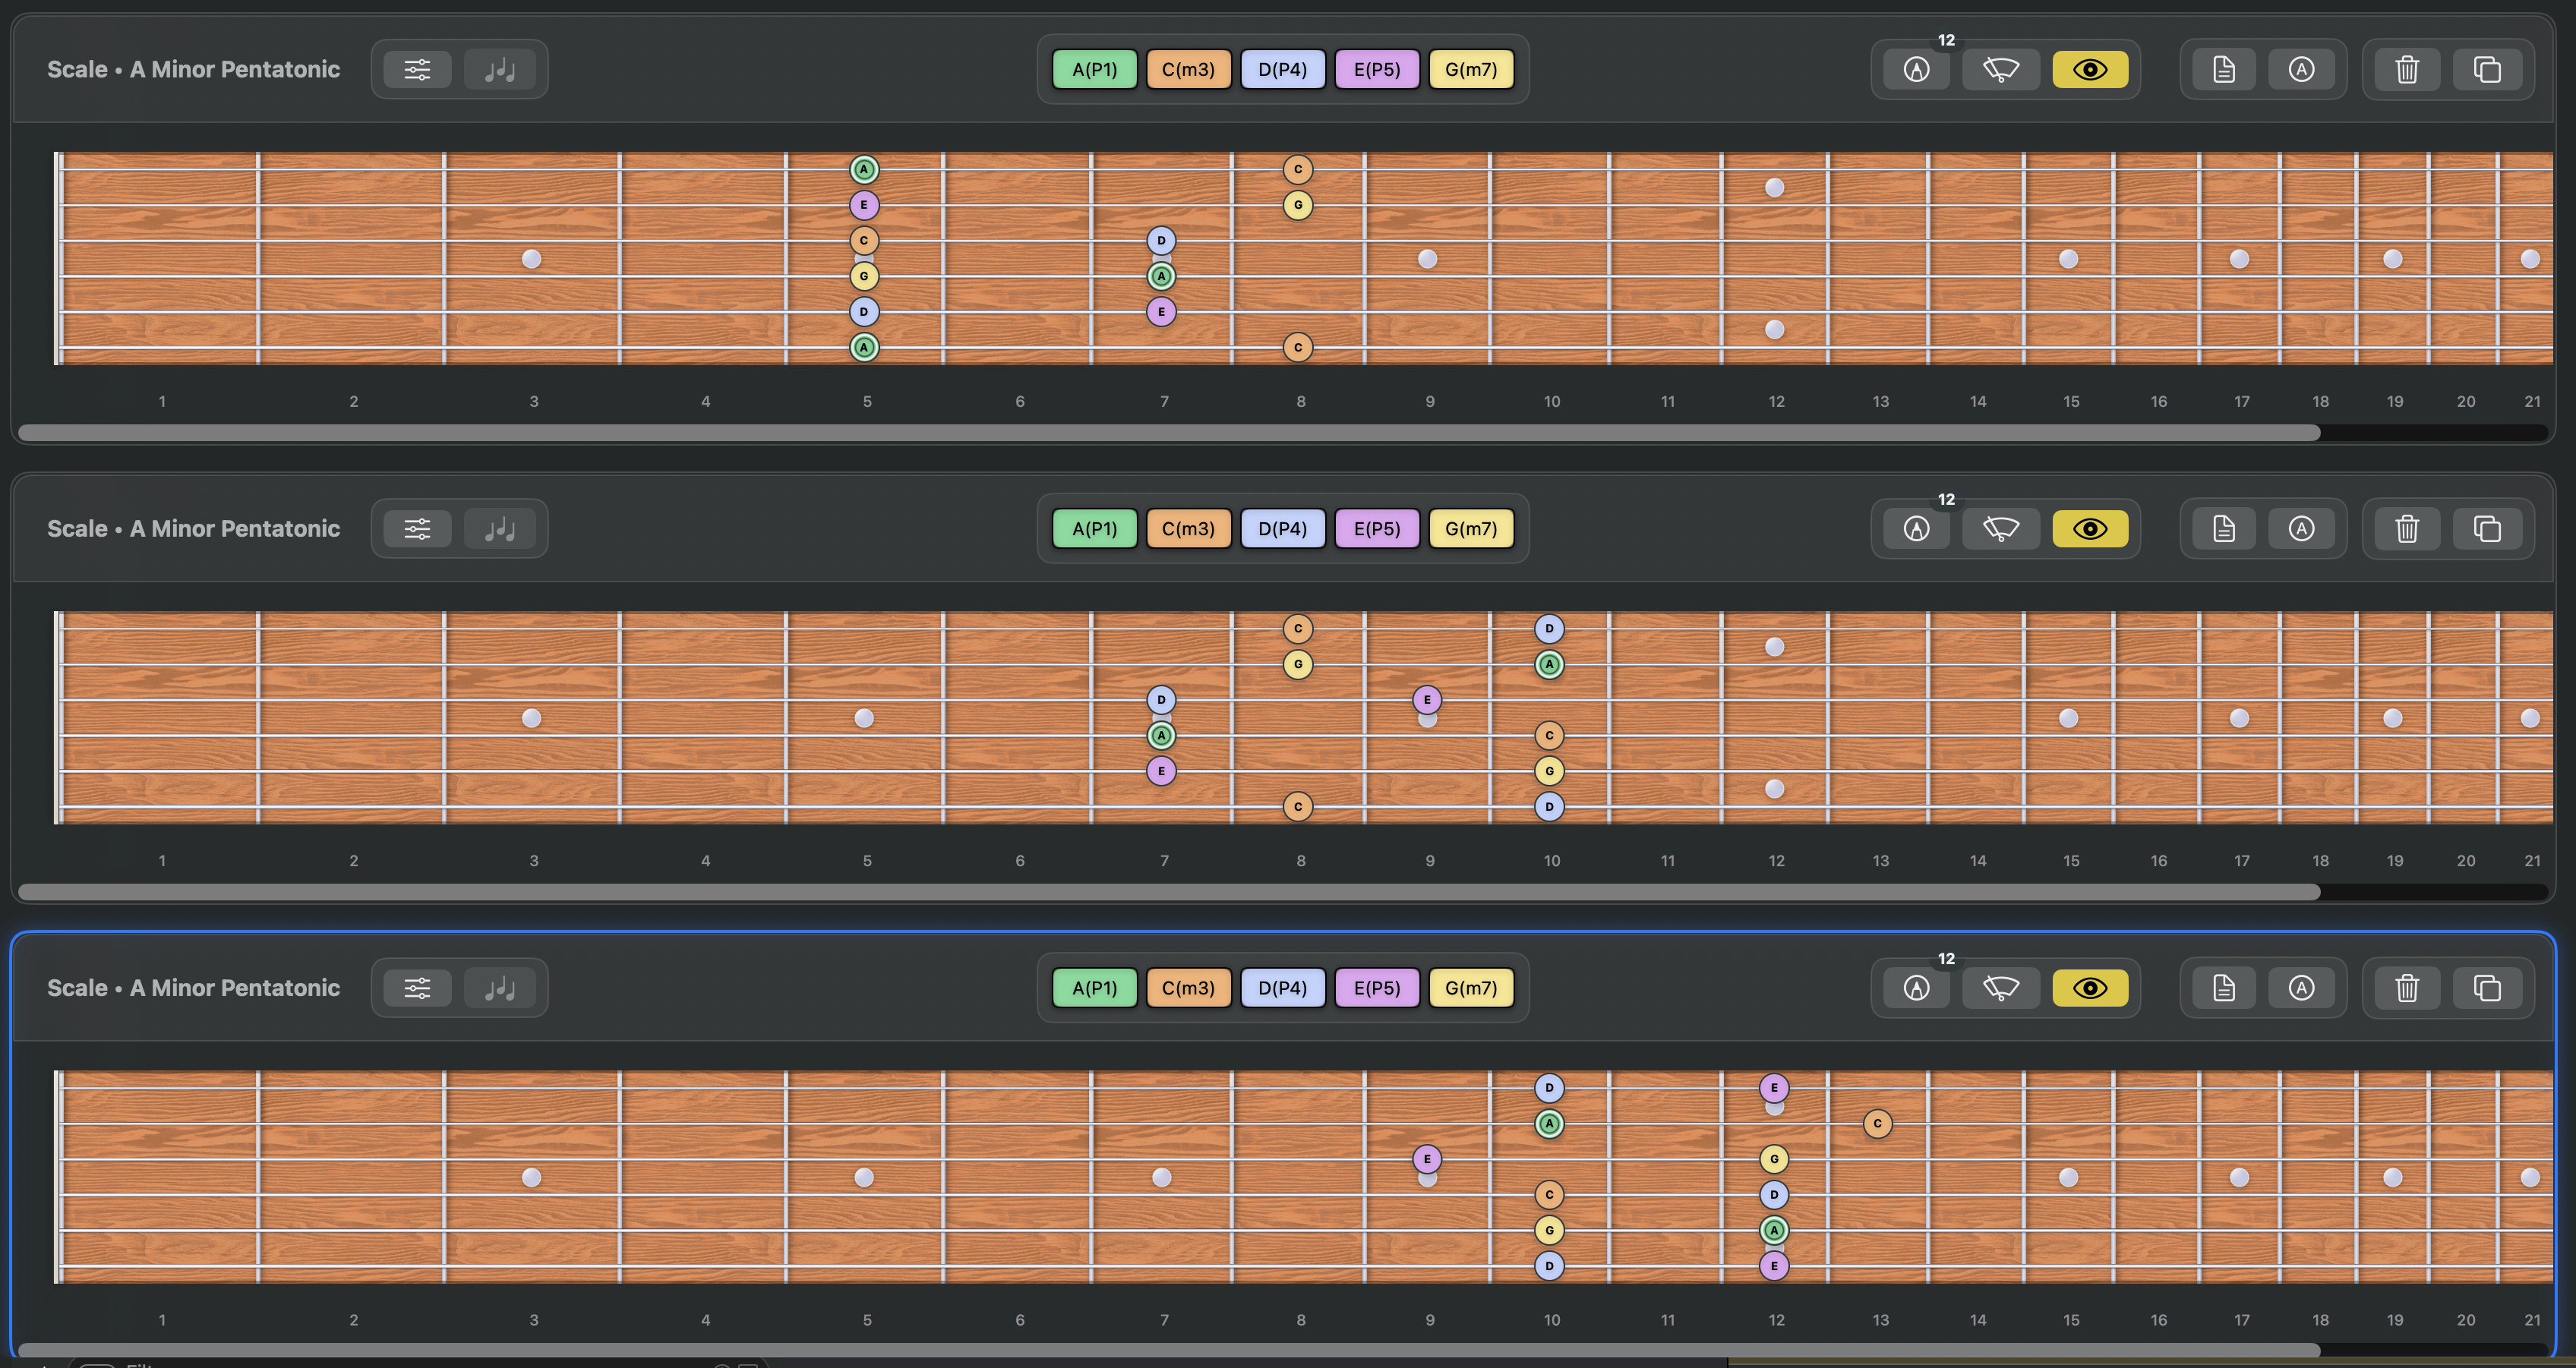
Viewing marked notes on a fretboard -
Fretboard controls - notepad
The fourth button is the notepad control. A new fretboard starts with an empty notepad, so the button appears plain. Clicking it toggles the notepad’s visibility. Once the notepad contains text, the button turns yellow to remind you that notes are present. Notepads are saved with their fretboards in the Frettly document.
Fretboard notepad -
Fretboard controls - labelling mode
The fifth button toggles between viewing notes and viewing intervals. By default, fretboards show note labels, and the tooltip shows the corresponding interval. When you switch to interval labels, the tooltip text changes accordingly.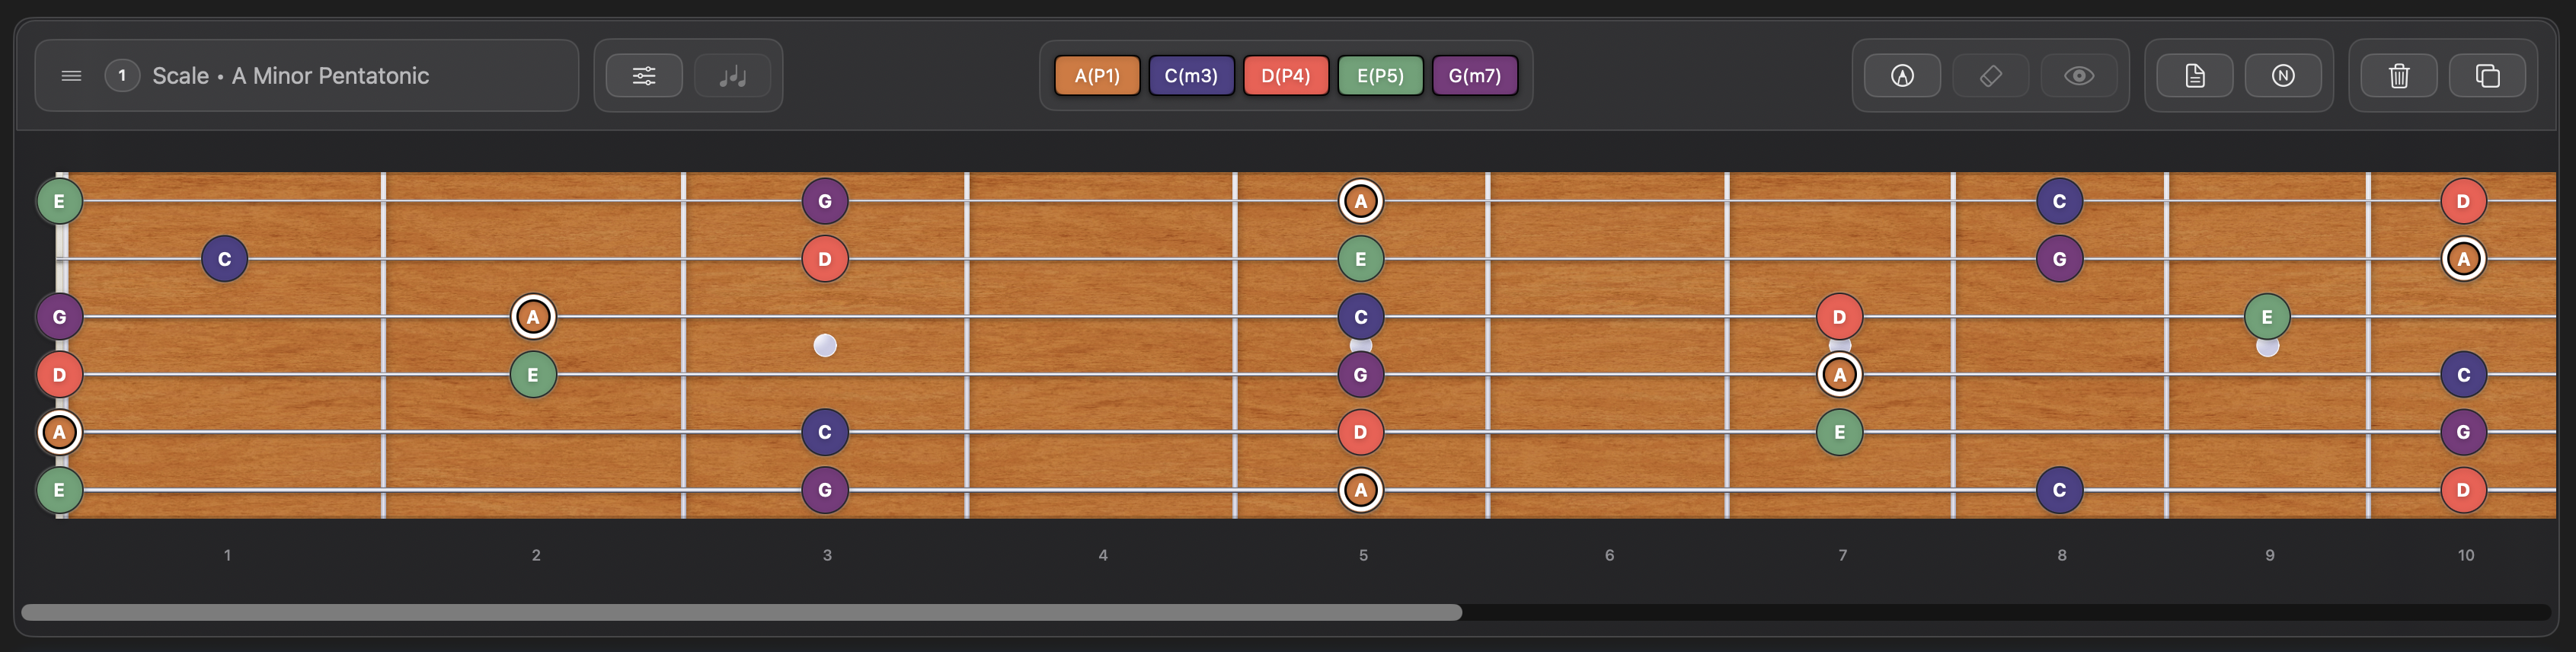
Fretboard showing note labels 
Fretboard showing interval labels -
Fretboard controls - delete fretboard
The sixth button is the delete fretboard control. The deletion can be undone with Undo (⌘Z). -
Fretboard controls - duplicate fretboard
The seventh button duplicates the current fretboard, inserting the copy below the original. Only the fretboard’s type, root, and pattern are duplicated — notepad content and marks are not.